
via IFTTT
FishingROV #63 MAILBAG MASSACRE, Magnetically coupled rotary encoder.
via IFTTT

via IFTTT
via IFTTT
via IFTTT
via IFTTT
Since the last post I’ve foxed the boat its trailer, been on holiday with the boat and done some more ROV stuf.
I have been concentrating on the YouTube channel and know wonder how many real people visit the website/ blog?
I would love to know if people were discouraged by by lack of update on the website. Which might make me spend more time on the webblog. Photos, videos etc……………
Finally got round to playing with the OpenROV control board. It looks like it will save lots of time.
Just had to set the fuse bits, upload the atmega 2560 bootloader, plug in the beagle bone black, apply power and connect a power switch and away she went 🙂
Command line string for setting fuse bits and installing the bootloader:
avrdude -c usbasp -p m2560 -P usb -b 115200 -e -u -U lock:w:0x3F:m -U efuse:w:0xFD:m -U lfuse:w:0xFF:m -U hfuse:w:0xDE:m
avrdude -c usbasp -p m2560 -P usb -b 115200 -V -U flash:w:mega2560boot.hex //(I changed the file name)
avrdude -c usbasp -p m2560 -P usb -b 115200 -U lock:w:0x0F:m
from:
http://cisana.net/burning-the-bootloader-onto-the-arduino-mega-2560/
and
https://github.com/OpenROV for the fuse bit settings
I am re inspired and hope to get the rov together in some form and through it in the water soon.
Checkout our youtube channel: mr Fishing Rov
FishingROV # videos 32-26.
I don’t know why I chose “mr fishing rov” as a YouTube channel title?
Lots of progress and learning has happened: plastics, endcaps, sensors, …… And a new workshop/cave for future videos.
Work has been a bit full-on so progress as been a bit slower than i would have liked.
I have ordered an OpenROV 2.7 control board which will hopefully save some time.
The idea behind the YouTube channel is moistly to spread the idea of fishingROV and hopefully generate some more interest. If you like the videos it would help a lot if you SHARE with your circles or like in YouTube.
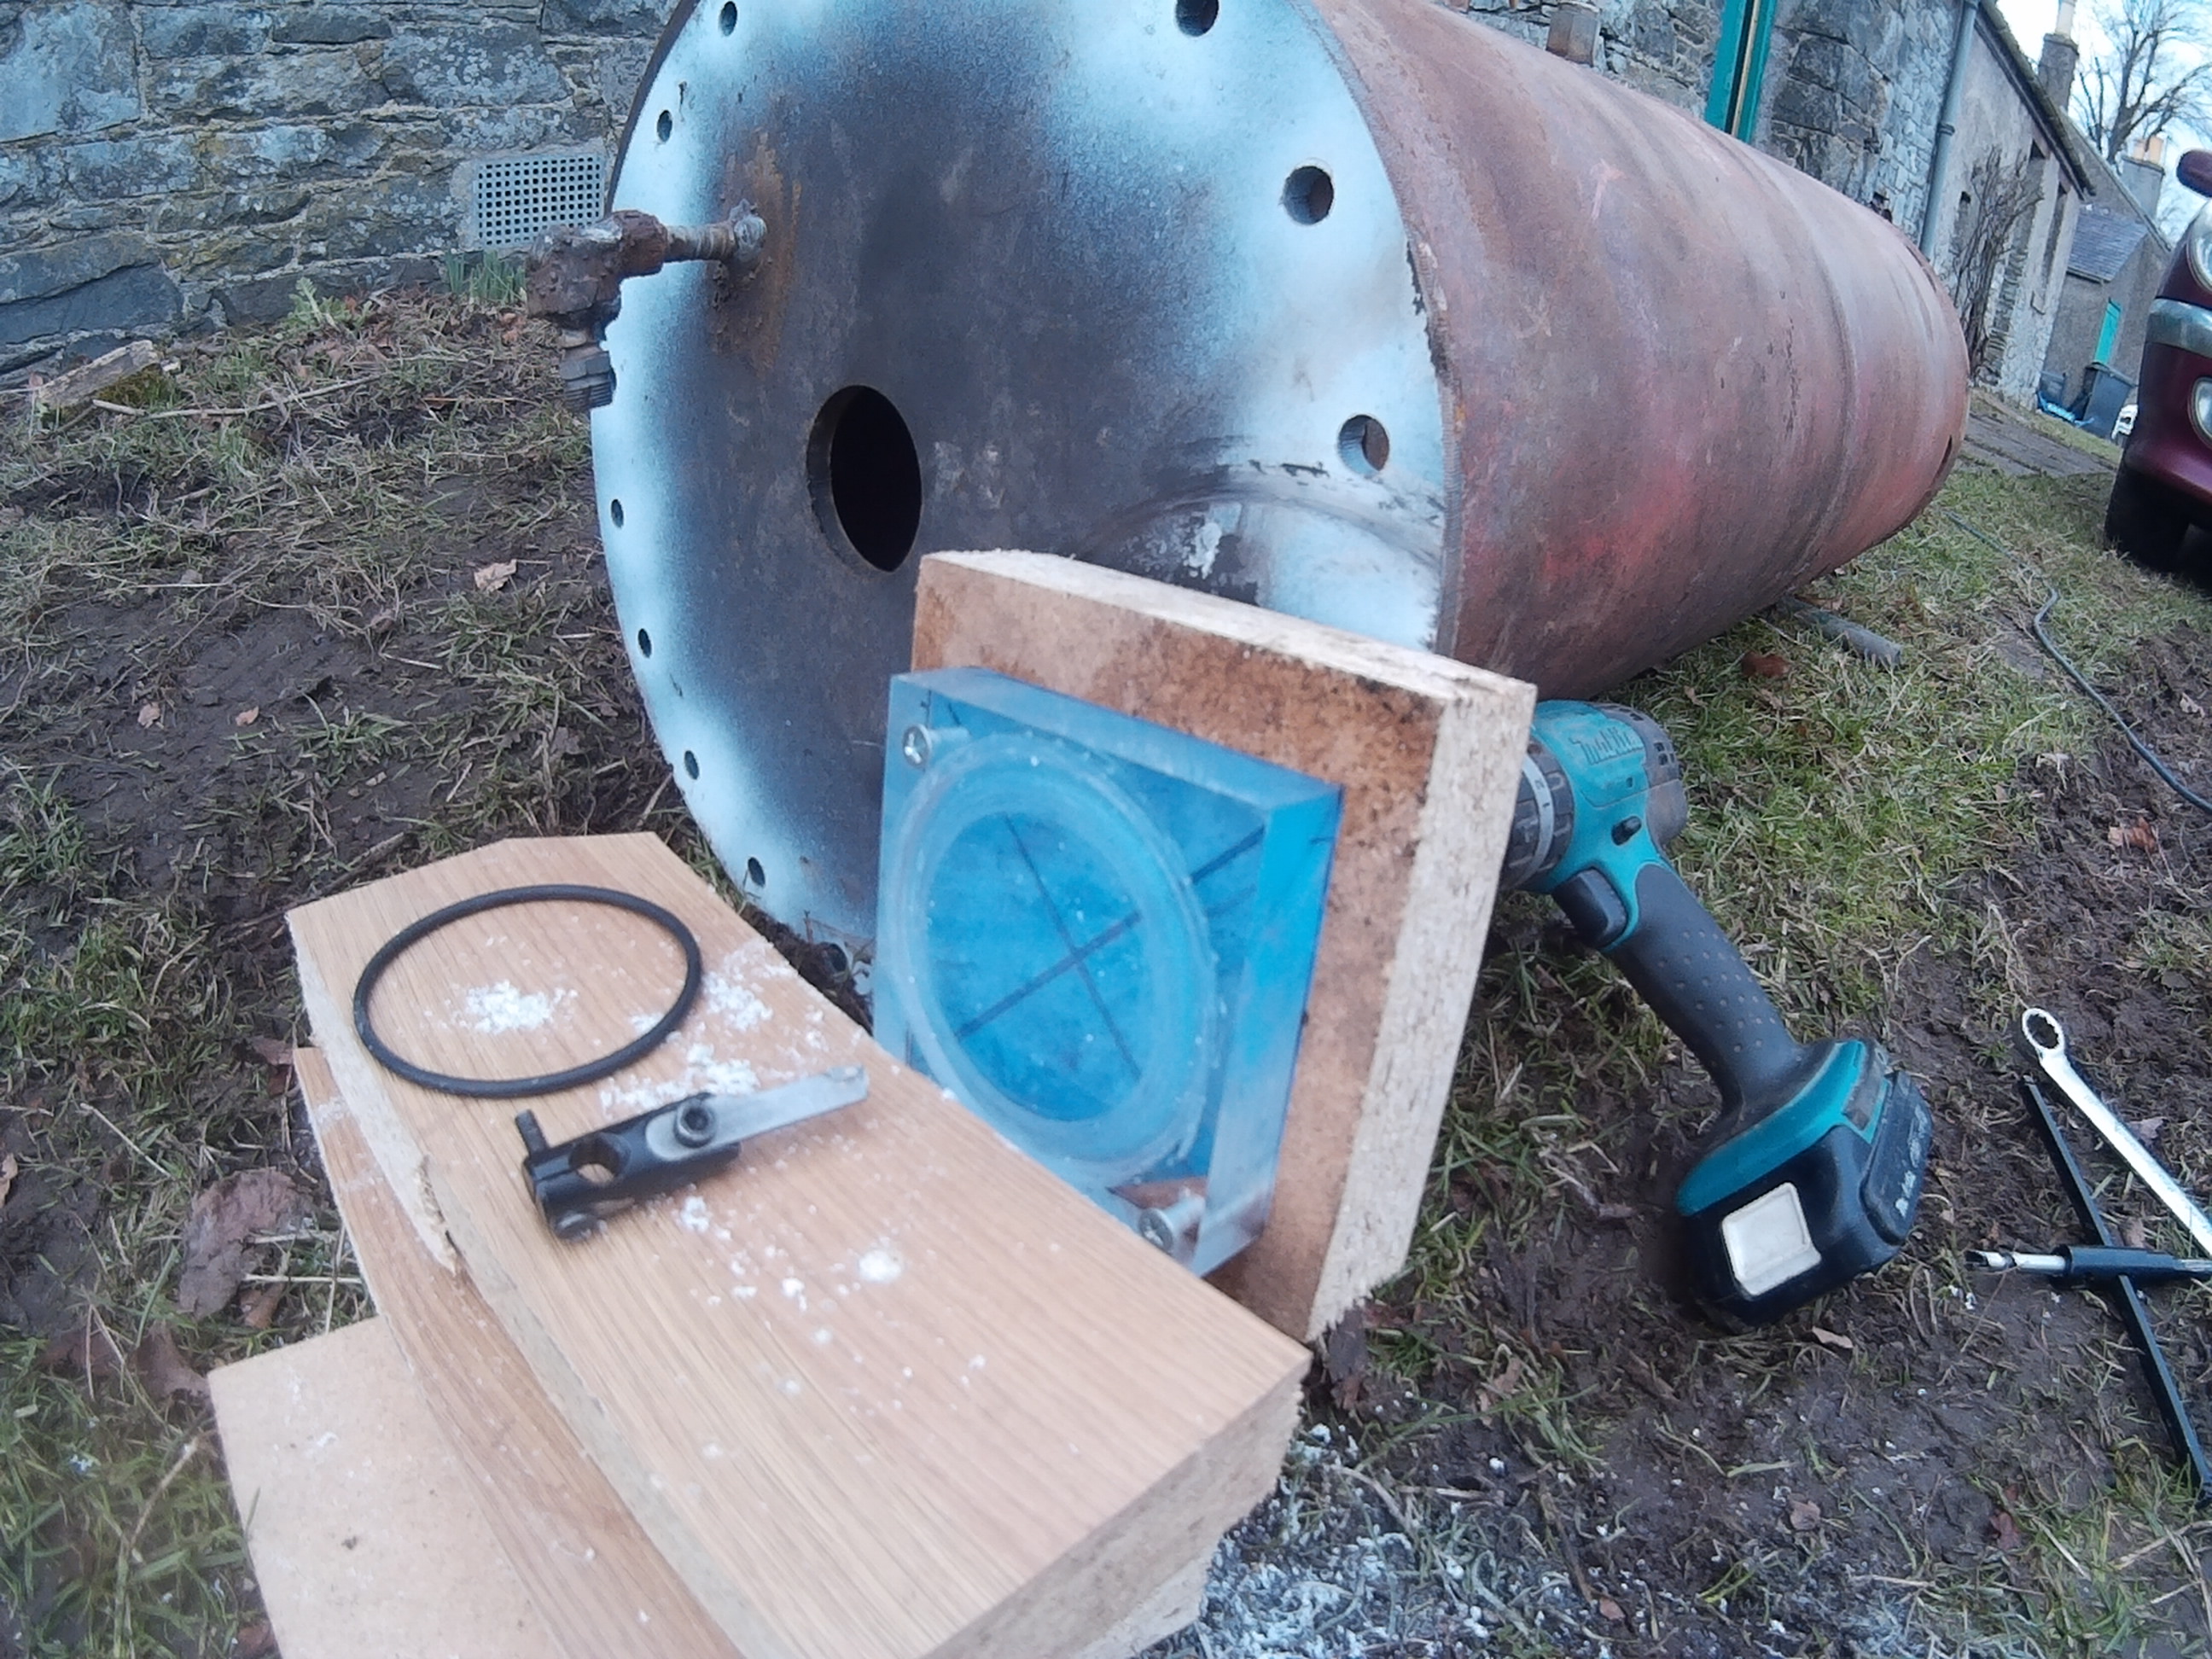
First proper test of the chamber. And housing pressure test.
The housing will take 300 psi or 20 bar without implosion. Im not sure what the final pressure was because I didn’t have a data logging pressure sensor. But More than 200 metre should be plenty for the ROV.
I would still like to test- the cylindrical camera housing, floats, copper tubing and fittings…
And find a more reliable way of making the through hulls.
Just done the first test on the hyperbaric test chamber. Its looking promising still to: paint, attach high pressure pump and install lights, devise hold down rig for test item….


Assembled the five printprops.They are looking great.
And working on Buck converter for tether power. I am thinking about using the lm2596s with external fets- lots of things to learn. I might even make an Arduino shield to -logic shift for Beaglebone black, current sense, servo outputs and sensor connections…
Could a circuit like this work? Using a Switch Mode DCDC step down converter (48-24v) to 12v. Output from the transformer charge the whole bank, or individual sell groups. Effectively using the load as balancing resistors. FETS on the output of the transformer directly power the load or charge week groups. Low speed switching to maintain battery voltage???? Also laser cut ends for the hyperbaric test chamber arrived- I will try to stick them to the cylinder
this week. And do a few more videos squashing stuff.

Battery testing we have collected and tested 60+ cells. About 2/3 are ok and will store a reasonable amount of power. So we still need a few more to make the 45 cell pack.